Guide · 9 min
How to install vinyl flooring: lay it yourself in a day
2 September 2026
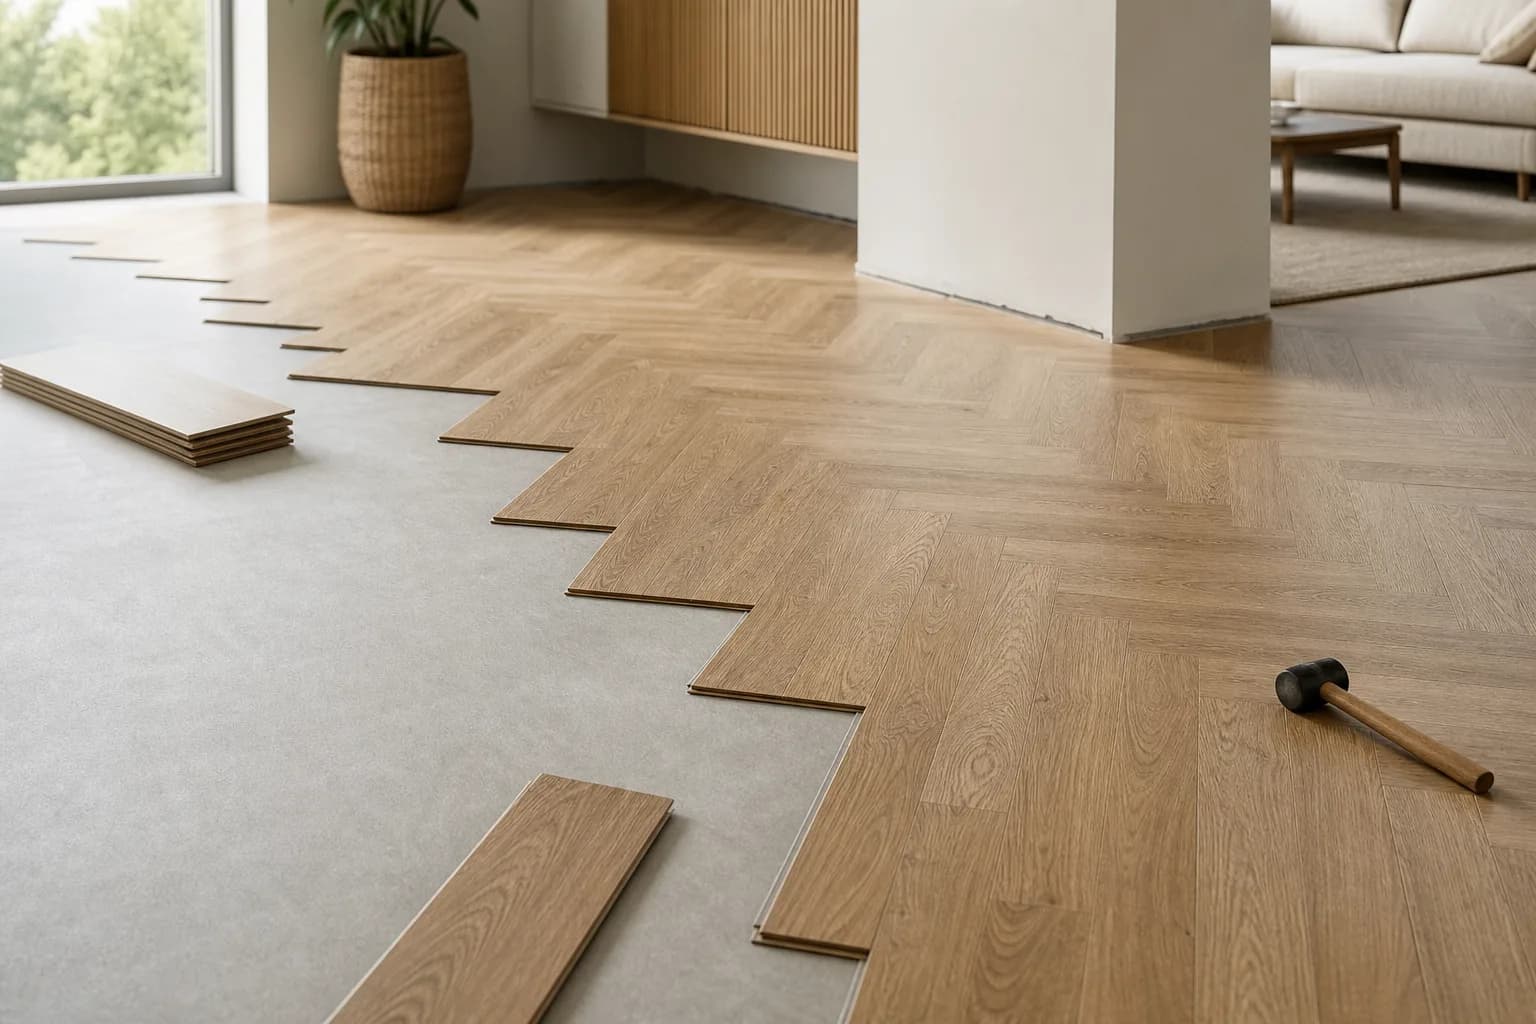
Fitting vinyl flooring is one of the few renovation jobs you can genuinely take on yourself. Modern SPC (Stone Polymer Composite) is a rigid, dimensionally stable plank with a mechanical locking edge. It needs no adhesive, and usually no separate underlay either — that is already bonded to the underside of the board. If you have ever clicked a laminate plank into place, the principle is identical; vinyl is simply more forgiving of mistakes and unbothered by moisture.
That said, “no adhesive” does not mean “no preparation”. The great majority of failed installations come down not to the laying itself but to the subfloor underneath. So this guide starts with what happens below the floor, and only then picks up the first plank. If you are still weighing up materials in general, read our complete guide to vinyl flooring first — it compares SPC, LVT and the other types.
What you will need: tools and materials
SPC needs no expensive kit. Most of the tools you will already have at home or can borrow. Here is the full list:
| Tool / material | What it is for |
|---|---|
| Utility knife (with snap-off blades) | Cutting planks — SPC is scored and snapped, not sawn |
| Set square and tape measure | Straight lines and accurate measurements |
| Spacers (8–10 mm) | Holding the expansion gap at the walls |
| Hammer and tapping block | Closing joints without damaging the locking profile |
| Pull bar | Drawing the last row up tight against the wall |
| Pencil and spirit level / long straightedge | Marking out and checking the subfloor for flatness |
| Vapour barrier (PE film), if the subfloor is concrete | Protection against residual moisture from the slab |
One thing to watch: if you buy vinyl with an integrated underlay (IXPE or cork backing), you do not need to buy underlay separately — a second layer only works against the locking system. A vapour barrier is a different matter: it is a thin film that stops moisture migrating upwards, not an acoustic layer.
Step 1. Preparing the subfloor
This is the most important part of the whole job. SPC vinyl is rigid, so instead of hiding unevenness it emphasises it — in time, a plank bridging a high spot can start to flex or creak. The subfloor has to meet three conditions:
- Flat: no more than ±3 mm of deviation over a two-metre span. Check it with a long straightedge or spirit level — wherever the gap is larger, level it with a self-levelling compound.
- Dry: residual moisture in concrete must be well under 2% (CM method). A freshly poured screed takes weeks to dry out — rush it and the moisture stays trapped beneath the floor.
- Clean and sound: no dust, adhesive residue or crumbling surface. An old tiled floor is fine if the grout lines are shallow; carpet always comes up.
The principles of subfloor preparation are practically the same as for parquet, so if you want a fuller explanation of levelling and moisture testing, see our separate article on preparing a subfloor for parquet — the same rules apply to vinyl.
Step 2. Acclimatisation
Leave the delivered packs in the room where they will be laid for 24–48 hours. In that time the planks come up to room temperature (ideally 18–25 °C) and humidity. Skip this step and the vinyl can shrink or expand slightly once it is down, which shows up as gaps or lifted joints. Keep the packs flat and unopened.
Step 3. Planning and the first row
Before the first plank goes down, plan the direction. A floor looks best when the planks run parallel to the main source of light (the window), because the joints then catch less shadow. Work out how wide the last row will be: if it comes to less than half a plank, narrow the starting row so that both edge rows finish at a similar width.
How much material should you order? Add 5–10% to the room area for cuts and the occasional mistake. Our article on working out how much flooring to order sets out the calculation in detail, or use the flooring calculator.
Start the first row in the left-hand corner with the tongue of the lock facing the wall (you will often trim it off to leave a clean edge). Put 8–10 mm spacers between the planks and every wall — that is the expansion gap, and it lets the floor move freely as temperatures change. Without it, a floor that expands in summer has nowhere to go and rides up on itself.
Step 4. Laying the click system row by row
Fitting click vinyl comes down to a single movement: you offer the end of the plank into the groove of its neighbour at an angle and lower it until you hear the click. The order of work goes like this:
- Complete the first row, joining each plank at the ends (the short edges).
- Cut the last plank of the first row to length, allowing for the expansion gap.
- Start the second row with the offcut from the first (as long as it is at least 30 cm) — that is how you build the staggered, brick-like pattern. End joints in adjacent rows must be offset by at least 30 cm.
- Hook the plank into the previous row along the long edge first, then engage the short edge.
- Tap gently with the tapping block until the joint disappears. Never strike the edge of the lock directly — you will damage the profile.
The pleasure of laying SPC is that a plank which has not seated properly can be released: lift the previous row, unclip it and start again. That is the fundamental difference from glue-down LVT — we go into the differences between the types in SPC or LVT vinyl, and compare the two fitting methods in glue-down or click vinyl flooring.
Step 5. Cutting, doorways and pipes
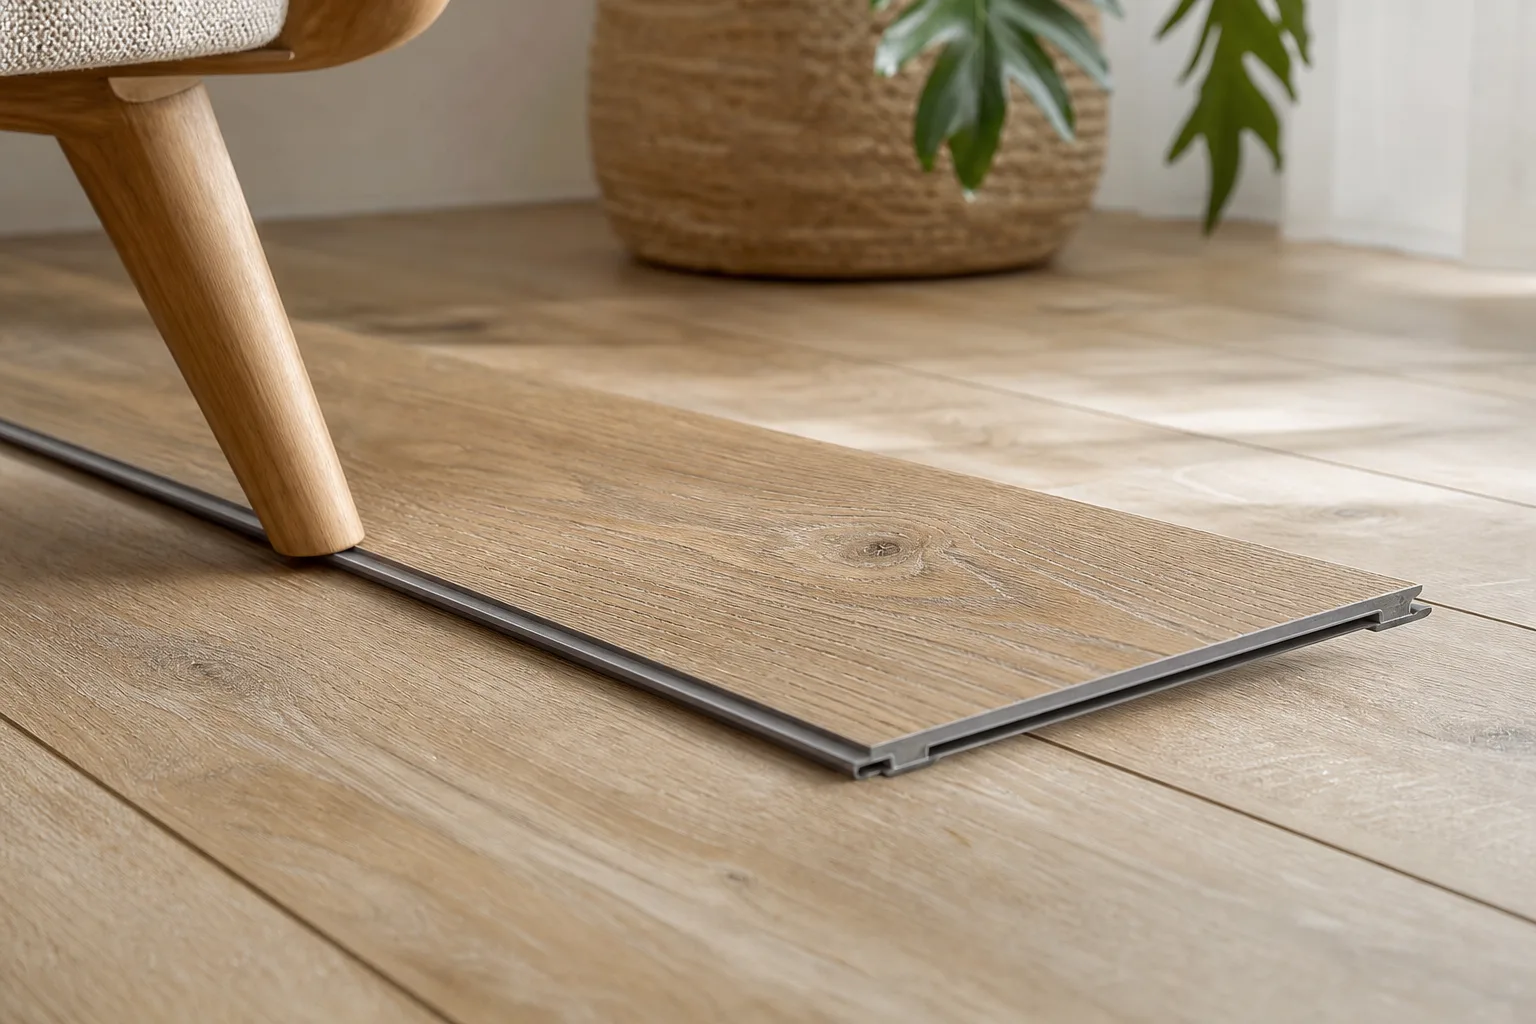
SPC is simple to cut: mark the line in pencil, score the surface firmly a few times with a utility knife and snap the plank over an edge — no saw required. For more complicated cut-outs (around radiator pipes or thresholds) use a jigsaw or an angle grinder.
At door architraves, do not cut the plank around them — it is far better to undercut the architrave itself so the plank slides easily underneath. Around pipes, drill a hole slightly larger than the pipe (leaving room for expansion) and cut out the connecting wedge, which you glue back in once the plank is in place.
Step 6. The last row and finishing
The last row almost always has to be cut to width. Measure from the laid row to the wall (subtracting the expansion gap), transfer the measurement to the plank and cut it. A pull bar will get it home, since there is no longer room to swing a hammer against the wall.
Finally, take out the spacers and fit the skirting boards. This matters: the skirting fixes to the wall, not to the floor — otherwise you lock up the expansion gap. Use transition profiles at doorways and wherever the vinyl meets another floor covering.
The most common mistakes and how to avoid them
Almost every installation defect traces back to a handful of recurring mistakes. Below are the most frequent ones, what they lead to and how to put them right:
| Mistake | Consequence | Fix |
|---|---|---|
| No expansion gap left | The floor lifts and buckles | Always 8–10 mm at every wall |
| Uneven subfloor | Creaking, joints opening up | Level to ±3 mm/2 m before laying |
| Acclimatisation skipped | Gaps or lifted joints | 24–48 h in the room before you start |
| Joints not staggered enough | Weak joints, a “stepped” pattern | Offset end joints by at least 30 cm |
| Striking the lock directly | Broken profile, the joint will not close | Use a tapping block, not the plank edge |
When it is better to call a professional
In fairness, not every project suits a do-it-yourself approach. Leave it to a fitter if the subfloor is badly out of level and needs serious levelling work, if the area is large with several rooms and thresholds, or if you are laying over underfloor heating, where the system has to be brought up and down correctly before and after installation. Demanding patterns (herringbone, diagonal) also call for experience.
If you would rather hand the job over, a good local fitter is the answer. Rates for laying click vinyl differ sharply from one country and region to the next, so treat any figure you read online as an indicative range and get a written quote locally. We are glad to talk through the locking system and the tolerances of a particular collection before you brief them — just get in touch. If you simply want to see how vinyl looks in your own light, order 3 free samples to your door, with no obligation, and we also offer a video consultation on choosing the right collection.
A practical starting point is the popular SPC Havana collection, with a rigid core and integrated underlay, which is forgiving for a first-time fitter. All our vinyl flooring carries a 25-year residential and 10-year commercial warranty, and we ship on pallets across the EU, with the cost and lead time shown at checkout or confirmed on request.
Frequently asked questions
Can you lay vinyl flooring yourself with no experience?+
Yes. Click-system SPC vinyl needs no adhesive and no specialist machinery — the planks join with a mechanical lock, rather like a jigsaw puzzle. What matters is preparing the subfloor properly (flat to ±3 mm over 2 m, dry and clean) and leaving an 8–10 mm expansion gap at the walls. An average room takes about half a day.
Does SPC vinyl need a separate underlay?+
Usually not. Most good SPC planks come with an IXPE or cork underlay already bonded to the underside. A second layer only works against the locking system and can cause creaking. The one thing you may need separately is a vapour barrier (a thin PE film), if you are laying over a concrete subfloor that could still hold residual moisture.
Why do you have to leave a gap at the walls?+
That gap is the expansion joint. Vinyl moves as temperatures change, so 8–10 mm at every wall lets the floor expand and contract freely. Leave it out and an expanded floor has nowhere to go, so it lifts and buckles. The gap is covered by the skirting board, which fixes to the wall rather than to the floor.
How do you cut SPC vinyl planks?+
For straight cuts you do not need a saw: mark the line in pencil, score the surface firmly a few times with a utility knife and snap the plank over an edge. For more complicated cut-outs around pipes or thresholds, use a jigsaw or an angle grinder, leaving a few millimetres for movement.