Repair · 7 min
Replacing a Parquet Plank: How to Swap a Damaged Board
2 September 2026
When to replace, and when to repair
Not every mark warrants lifting a plank. Replacement is the right call when you have:
- Deep scratches or gouges — where the wood itself is damaged, not only the finish
- Distortion from moisture — the plank has swollen or cupped
- Denting or splitting — something heavy has caused structural damage
- A colour mismatch — for instance where building work has left a stained or patched section
- Localised rot — water damage (more on this in our guide to parquet in bathrooms)
Lighter damage — surface scratches and stains — can usually be dealt with in place; see our guide to removing scratches and stains.
Keeping spare planks
Ideally you already hold 5–10 % spare planks from the batch the floor was laid from. Wood changes with time, and planks from the same batch or the same production run may no longer match a floor that has been ageing for a year or two. Those spares come from ordering around 10 % more than the bare floor area when you lay the floor (see our guide to calculating how much parquet you need).
If you kept no spares, order planks from the same collection from us: browse the collection. Bear in mind that the shade may differ slightly.
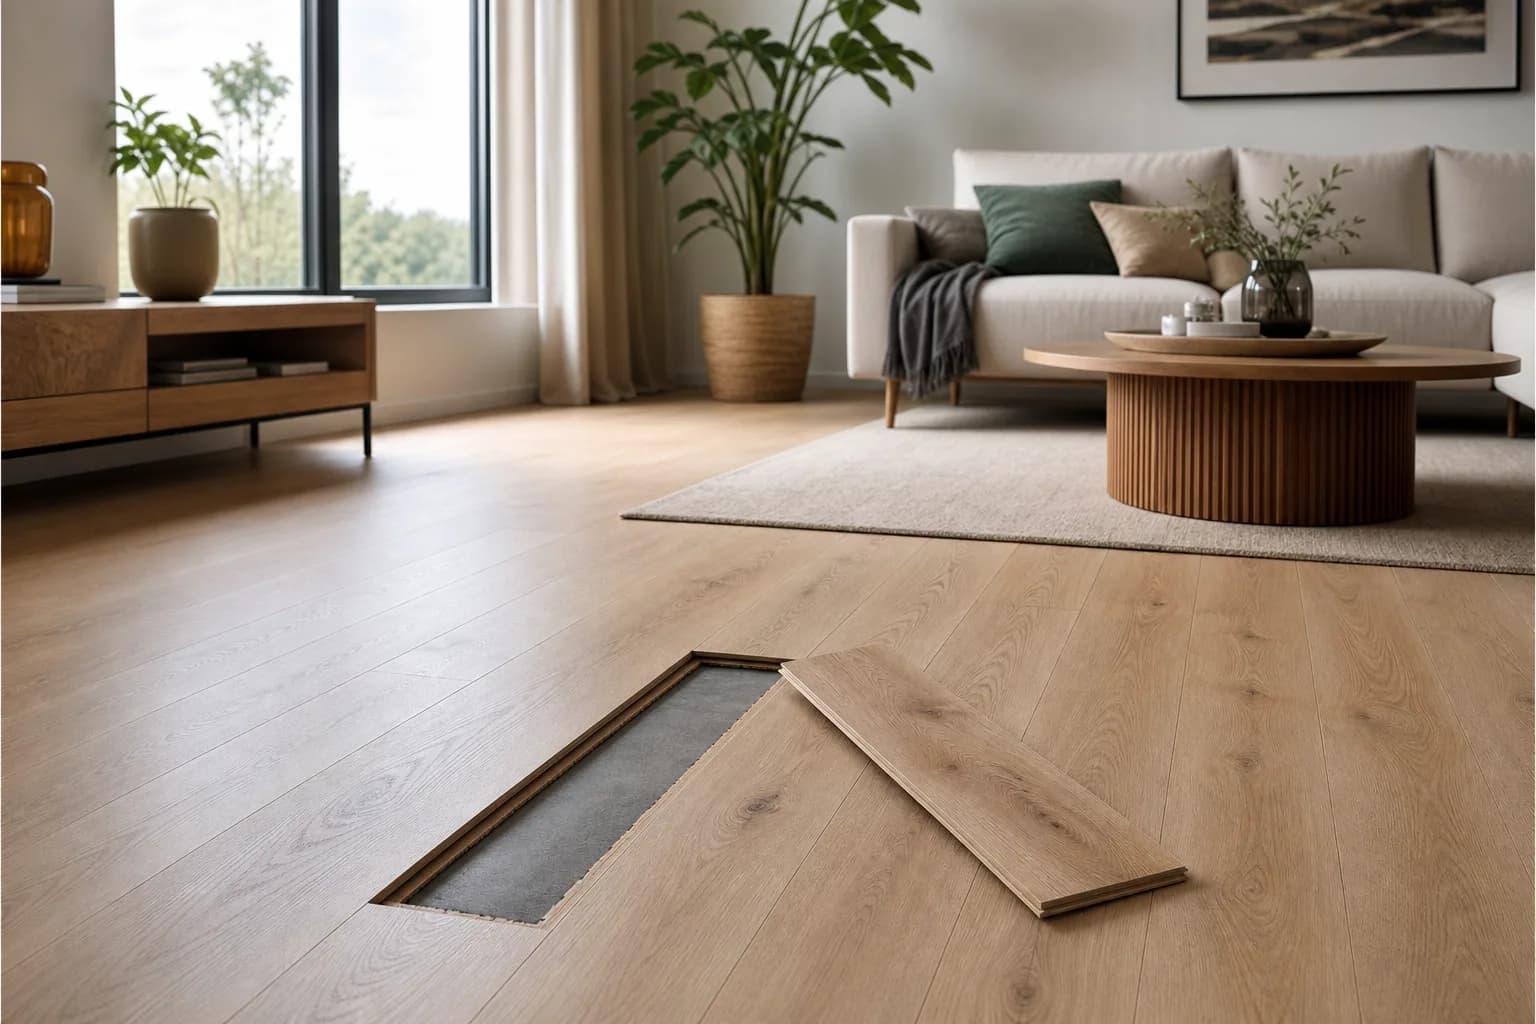
Replacing a click parquet plank
Case 1: a plank near the wall
The easiest scenario. Step by step:
- Take off the skirting board along the nearest wall
- Lift the plank next to the wall — a Drop Down Click profile releases when the board is raised from the end
- Carry on unclipping plank by plank until you reach the damaged one
- Take out the damaged plank
- Fit the new plank and press the locking profile home
- Work back the other way, reconnecting every board you lifted
- Refit the skirting board
Allow roughly 30–60 minutes for a single plank.
Case 2: a plank in the middle of the room
More involved. You have to release every plank between the nearest wall and the damage. Where the damaged plank sits centrally you can often work in one direction only — the direction the locking profile faces. Allow one to two hours.
The alternative: cutting the plank out
If the plank sits deep in the room and unclipping half the floor would be too disruptive, cut it out instead:
- Make a straight cut down the centre of the plank (jigsaw, worked carefully)
- Cut through the joint profiles and lift the damaged plank away in pieces
- On the replacement plank, trim off the lower tongue on the joining side
- Bond the new plank in with PUR adhesive
- Weight the plank down over the joints while the adhesive cures
This method takes practice — on most floors it is worth calling in a professional.
Replacing a glue-down parquet plank
Glue-down parquet, bonded across its full surface to the subfloor, calls for a different technique:
Step by step
- Mark the cut-out — a couple of centimetres in from the joints on each edge of the plank
- Make several plunge cuts down the middle of the plank (jigsaw, depth set to the thickness of the parquet and no deeper)
- Lever out the middle section — working outwards from the centre
- Remove the edges carefully — with a chisel, without marking the neighbouring planks
- Scrape off the old adhesive down to the subfloor
- Check the subfloor — it has to be flat, dry and clean
- Trim the replacement plank — take off all the tongues so the edges are straight rather than profiled
- Apply the adhesive to the subfloor (we use Berger Seidle M1X)
- Set the new plank in place — press it down firmly, level with the planks around it
- Weight it down and leave the adhesive to cure for 24 hours
Tools you will need
- Jigsaw, or a circular saw with accurate depth adjustment
- A set of chisels in different widths
- Hammer
- Sanding block, for tidying the cut edges
- Damp cloth and a tape measure
- For glue-down parquet: PUR adhesive and a notched trowel
- For click systems: rubber mallet and tapping block
After the swap: blending the finish
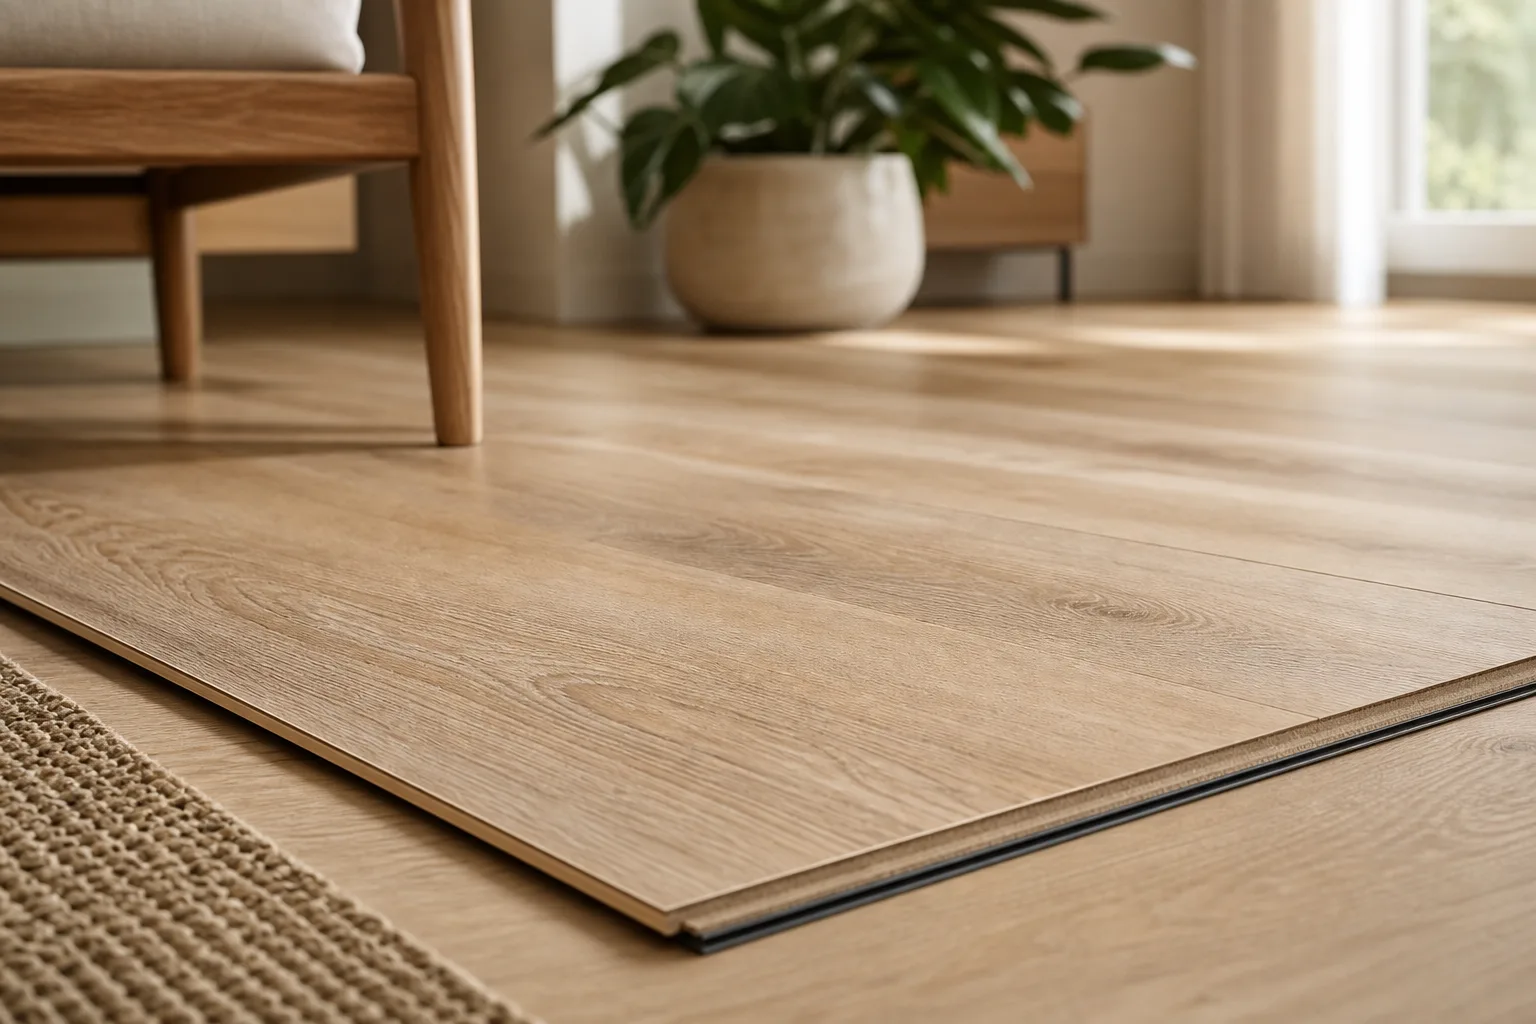
A new plank usually needs a little extra work before it disappears into the surrounding floor:
- The new plank looks lighter than the old floor — this happens even with planks from the same batch. UV light naturally darkens oak year by year.
- The fix: sand the new plank locally and refinish it with a stain or oil tinted to match. This takes experience.
- On oiled parquet it is more straightforward, because the oil opens the pores and pulls the appearance together
- On lacquered parquet it is harder, because the edge of a fresh lacquer layer shows up quickly
DIY or professional?
A damaged plank near the wall on a click floor is a realistic job to take on yourself. Damage in the middle of the room, glue-down parquet and any colour matching are work for a professional. A botched swap takes the neighbouring planks with it, and you end up worse off than when you started.
How to avoid replacing planks at all
- Felt pads under furniture — always
- Mats in high-traffic areas — at doorways and in the kitchen
- Humidity control — 40–60 % indoors
- Act on damage quickly — the sooner you deal with it, the fewer planks are affected
- Regular maintenance — see our parquet care guide
- Refresh the finish — yearly on oiled floors, every five years or so on lacquered ones
FAQ
Can a single plank in the middle of the floor be replaced?
Yes — on a click floor by unclipping from the nearest wall, or by cutting the plank out where that is impractical. On glue-down parquet it is always done by cutting.
Where can I get spare planks from the same collection?
We hold all 26 oak collections in stock. Get in touch and we will put together planks from the same collection — pallet delivery across the EU, with cost and time shown at checkout or on request.
Will the new plank look the same as the existing ones?
The shade may differ slightly, because the existing floor has already changed colour under UV light. Where you can, replace several planks at once so the transition reads naturally.
What does it cost to have a plank replaced?
As an indication only, fitters quote in the region of €50–100 for the first plank and €20–40 for each further plank in the same area, plus materials. Labour rates vary considerably from one European country to the next, so treat these as a rough guide and ask a local fitter for a quotation.
Need a hand?
Not sure how serious the damage is? Get in touch for a free consultation — send us a photo or show us the floor on a video call and we will suggest the right fix.