Guide · 9 min
Laying floor tiles: how to get a tiled floor right
1 September 2026
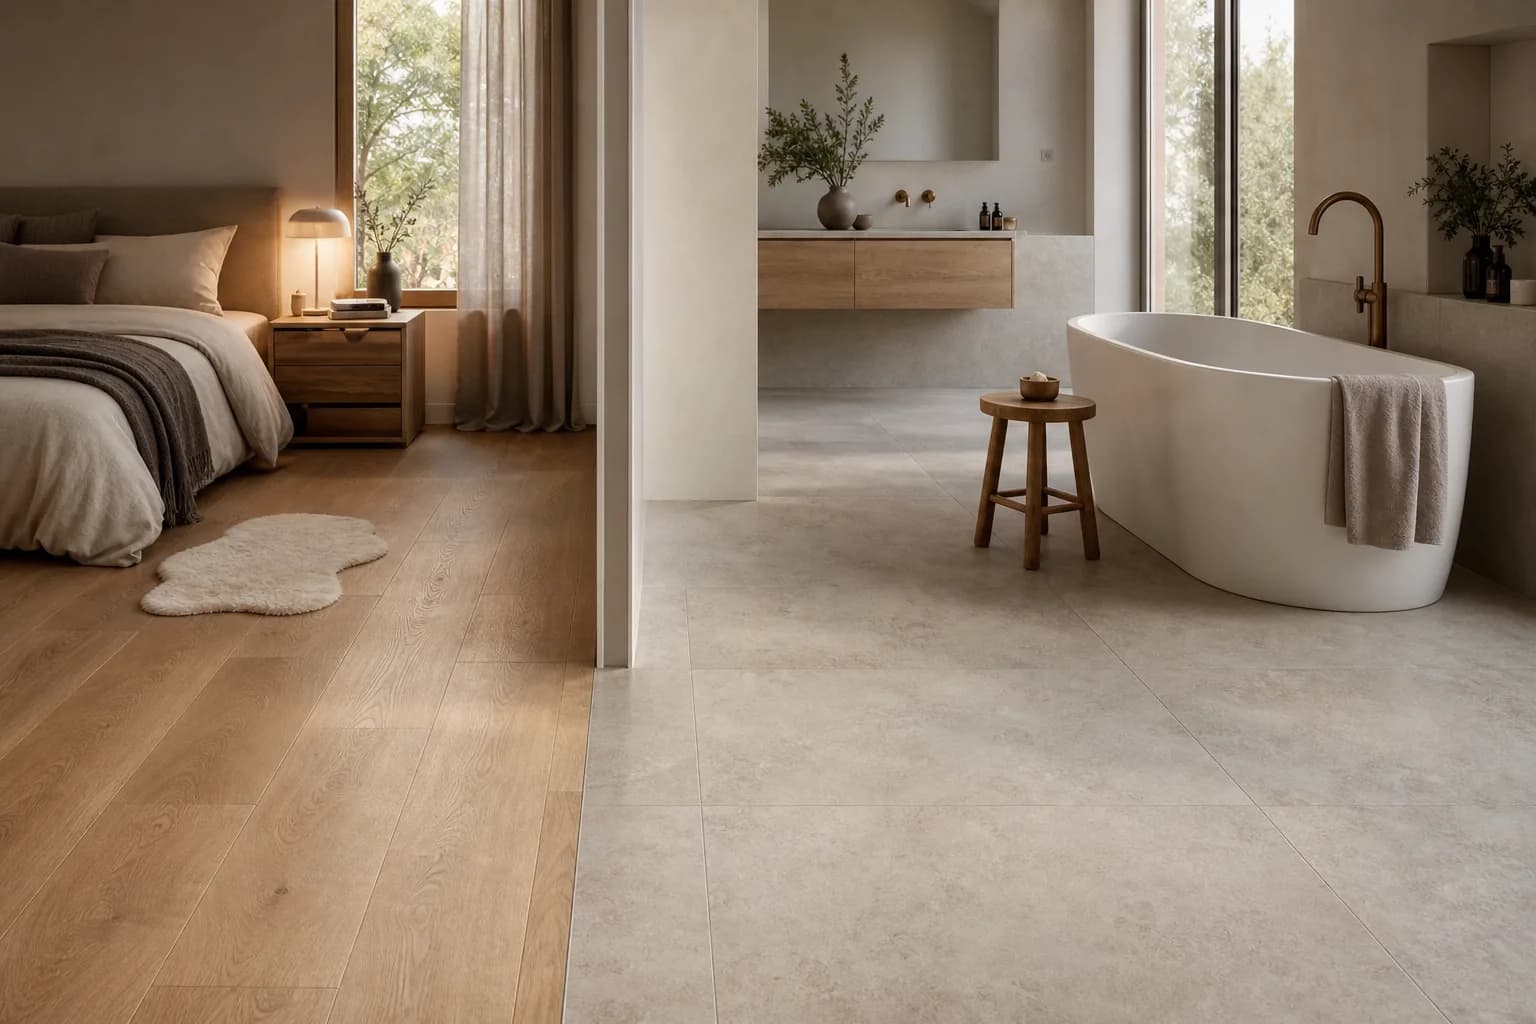
Floor tiles are one of the longest-lived floor coverings you can buy — resistant to moisture and wear, and well suited to underfloor heating. The finished result, though, depends as much on how the tiles are laid as on the tiles themselves, so it pays to understand the whole process before you engage a tiler or order materials. Below are all the stages, in order.
How laying tiles differs from vinyl or parquet
Unlike SPC vinyl with a click system, which many homeowners fit themselves over a weekend, tiles do not lock into one another — each one is bedded into cement-based adhesive and aligned individually. That makes the process more demanding: it needs an accurate subfloor, specialist tools (a wet saw, a levelling system) and the experience to hold one consistent joint width across the whole area. This is why floor tiles are almost always laid by a professional — a first attempt by a beginner usually ends in an uneven floor and a re-lay.
Compare the three approaches to installation:
| Floor covering | Fixing | DIY? | Subfloor accuracy |
|---|---|---|---|
| SPC vinyl (click) | Floating, click joints | Yes | ±2 mm/2 m |
| Engineered parquet (click) | Floating or glued down | Click — often yes | ±2 mm/2 m |
| Floor tiles | Bonded to the subfloor | No — needs a tiler | ±2 mm/2 m, and sound |
Tools and materials you will need
It is worth having everything to hand before you start — a trip to the builders' merchant halfway through the job usually ruins the batch of adhesive you have just mixed.
| Tool / material | What it is for |
|---|---|
| Notched trowel (8–10 mm) | Spreading the adhesive evenly |
| Wet saw / tile cutter | Cutting perimeter and large-format tiles |
| Levelling system (wedges/clips) | Avoiding height differences between tiles |
| 2 mm tile spacers | A consistent joint width |
| Spirit level / laser level | Checking the level across the whole area |
| Rubber grout float and sponge | Grouting and cleaning off |
| Cement-based adhesive (class C2) | A strong bond, especially in large formats |
Laying floor tiles step by step
1. Levelling and checking the subfloor
Everything begins with the subfloor. A cement or concrete base must be flat — deviation no greater than ±2 mm over 2 m, the same tolerance as for other floor coverings (we cover this in detail in our subfloor preparation guide). Larger undulations are taken out with a self-levelling compound. An uneven base is the main cause of a floor that rolls underfoot, and no thickness of adhesive will put it right afterwards.
2. Measuring the moisture
The subfloor has to be dry. A cement base that is still damp prevents the adhesive curing properly, and tiles debond later on. A newly poured screed must dry out completely — as a rough guide, allow around a week per centimetre of thickness — before tiling starts.
3. Priming
Once dry and vacuumed, the subfloor is primed. Primer binds the dust and improves the adhesive's grip. It is a cheap step, frequently skipped, and it has a direct bearing on how long the floor lasts.
4. Setting out dry
Before any adhesive goes down, the tiler lays the tiles out dry. This fixes a starting point so that cut tiles end up out of the eye-line — under furniture or against a wall — rather than in the most visible part of the room. With large-format tiles this planning matters even more.
5. Combing out the adhesive
The cement-based adhesive is mixed and combed onto the subfloor with a notched trowel; the ridges give an even bed of roughly 5 mm and allow air to escape. For standard formats, adhesive on the subfloor is enough, while large formats and floor tiles call for back-buttering (adhesive on the base and on the back of the tile) so that no voids are left beneath the finished floor.
6. Setting the tiles with spacers
Tiles are bedded into the adhesive with a slight twisting motion and 2 mm spacers are placed between them to keep the joint width consistent. Every tile is pressed down firmly — what matters is that no air pockets remain underneath.
7. Checking and levelling
Every few tiles the level is checked with a spirit level in both directions. In larger formats a levelling system of wedges and clips is used, which eliminates even the smallest height difference between adjacent tile edges — the effect known as lippage, which is especially conspicuous on a polished surface.
8. Cutting on a wet saw
Perimeter tiles and cut-outs around door frames and pipework are cut on a wet saw — the water cools the blade and gives a clean edge without chipping. This is essential for porcelain stoneware, and particularly for large-format tiles, which simply will not snap evenly on a hand cutter.
9. Grouting (after 24 hours)
Grouting begins only once the adhesive has fully cured — normally after 24 hours. The grout is worked diagonally across the joints with a rubber float, the excess is taken off with a damp sponge, and the surface is finally polished with a dry cloth so that no cement haze is left behind. Choose the grout colour to suit the tile: a grey or sand tone sits more naturally with a light marble-effect tile than a contrasting one.
10. Sealing wet areas with silicone
Corners between floor and wall, thresholds, and the zones around a shower or bath are sealed with a flexible sanitary silicone rather than rigid grout — silicone lets the structure move and does not crack. It is the decisive step in wet rooms, where tiles are, after all, the most dependable choice of covering.
Adhesive for underfloor heating
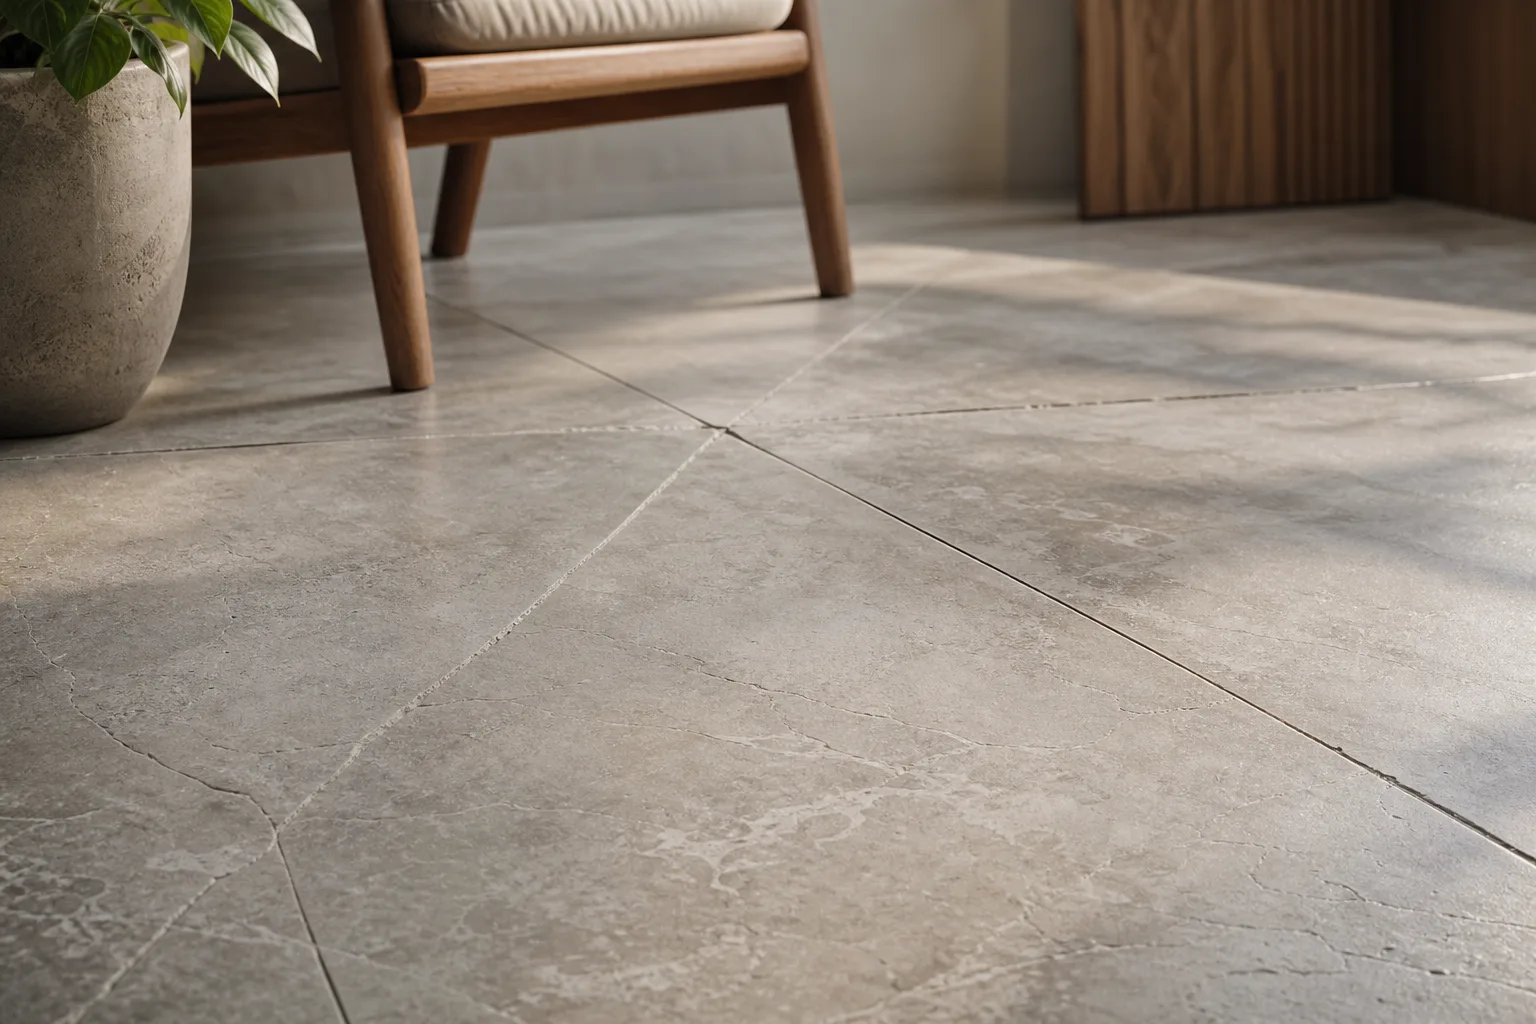
If underfloor heating runs beneath the tiles, use a flexible class C2 adhesive and a flexible grout made for the purpose — temperature swings make the materials expand and contract, and a standard adhesive would crack in time. Tiles are one of the best coverings for underfloor heating thanks to their high thermal conductivity, which is why the combination is so widely used in bathrooms and kitchens.
What tile fitting costs
Tiling is normally priced by the square metre, and quotations across Europe tend to fall broadly in the 25–50 €/m² range. Treat that as indicative only: labour rates differ sharply from one country and region to the next, and this is not a price we charge. The final figure depends on the format (large formats cost more because of weight and levelling), the pattern (herringbone or a diagonal lay costs more than a straight one), the number of cuts and how much subfloor preparation is required. Materials come on top: the tiles themselves from 35,95 €/m², plus adhesive, primer and grout. For an accurate figure, ask two or three local tilers to quote on site; if you would like help specifying the materials for your room, get in touch with us.
Why a professional is worth it
Floor tiles are a long-life covering that should serve for decades, so the cost of re-laying — stripping out old tiles and hardened adhesive — comfortably outweighs anything saved by attempting the job yourself. A professional tiler delivers even joints, a flat surface free of lippage and correctly sealed wet areas. If you are still at the design stage, start with our guide to choosing floor tiles. We do not post tile samples — free samples (up to 3) are available for engineered parquet and vinyl flooring only. For advice on shade and format, talk to us and we will recommend something suited to your particular room.
Frequently asked questions
Can I lay floor tiles myself?+
In theory yes, but in practice floor tiles are almost always laid by a professional. Unlike a vinyl click system, every tile is bedded and aligned individually, and you need a wet saw and a levelling system. For a beginner, going it alone usually ends in an uneven floor and an expensive re-lay.
How soon after laying can I grout?+
Grouting starts only once the adhesive has fully cured — normally after 24 hours. Begin too early and tiles can shift while the grout bonds unevenly. The grout is worked diagonally across the joints with a rubber float and the excess is cleaned off with a damp sponge.
Which adhesive suits underfloor heating?+
Underfloor heating calls for a flexible class C2 cement-based adhesive and a flexible grout. They cope with temperature swings and the movement of the materials, so the floor does not crack. Standard adhesives are not suitable. Thanks to their good thermal conductivity, tiles are one of the best coverings for underfloor heating.
How much does laying floor tiles cost?+
Fitting is commonly quoted at around 25–50 €/m² across Europe, but treat this as indicative: rates vary widely by country and region, and it is not a price we charge. The cost depends on the tile format, the laying pattern, the number of cuts and the condition of the subfloor. Materials are extra: tiles from 35,95 €/m², plus adhesive, primer and grout. Ask local tilers to quote on site for an accurate figure.